 Here’s a touchy subject if ever there was one, a place where only angels-and fools-dare to tread. However, the above picture of our wall of cast iron will have to serve as evidence that I know whereof I speak. That’s one heavy batterie de cuisine. By the way, the small skillet hanging on the upper left is almost forty years old, but could pass as about a year old.
However, I am going to avoid absolute pronouncements and merely discuss the merits of various materials and methods. Think of seasoning cast iron as analogous to painting a wall. Unless you’re Jackson Pollack, you want to apply thin, even, layers of finish. Here are the top four choices for oils (fats) to use.
Materials
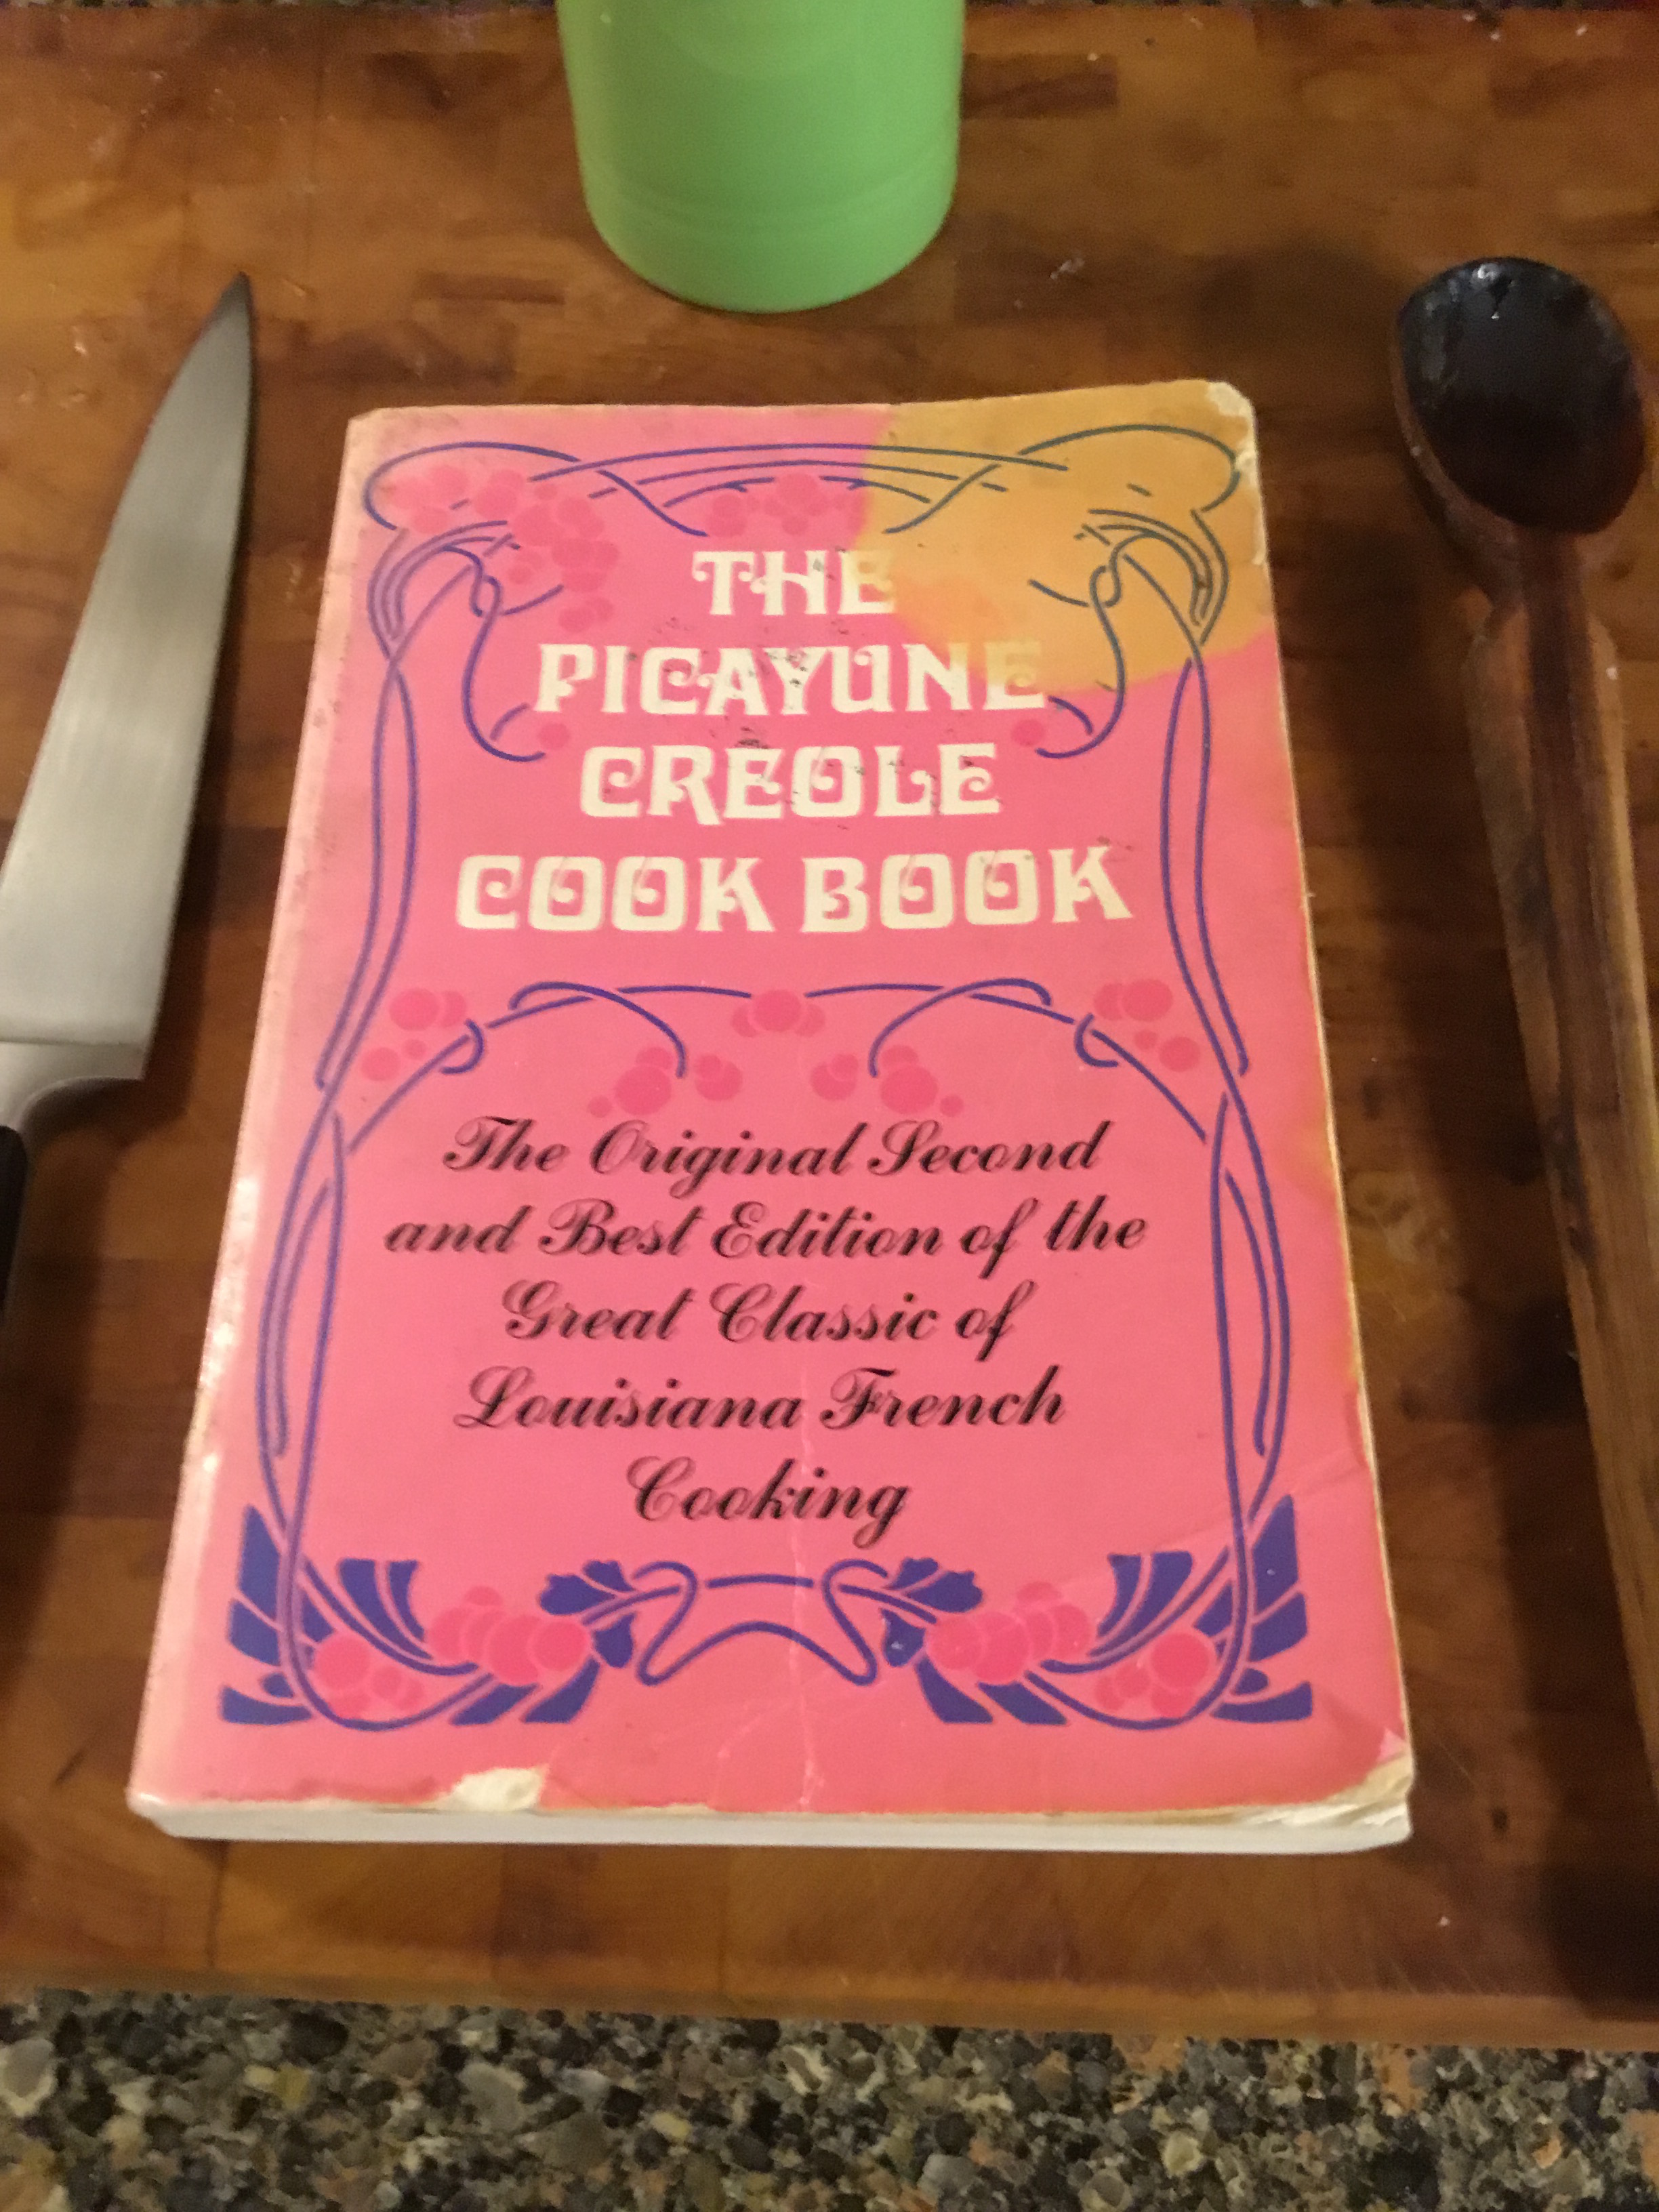
- Traditionalist’s Choice: Animal Fat. I’m fairly old school, so I personally use lard, BUT lard that I have slowly rendered myself from locally grown pigs. A section from the Purdue University Pork Industry Handbook , “Pork and Pork Quality” (PIH 128), notes that pork fat is a good source of linoleic acid, a main component of the “drying oils” (aka, oils that transform into a polymer), that will be discussed below. Without wandering off into the forests of chemistry, that is an acid that allows lard to form a polymeric surface (the molecules link together), when exposed to a combination of heat and oxygen. It’s the same way traditional oil paint dries. A. D. Livingston, in his Cast Iron Cooking, is a strong proponent of animal fat, noting that pioneers even used such things as bear fat for seasoning. If you have some extra bear fat in the fridge, go for it.
- Expert’s Choice: Flaxseed/Linseed oil. Essentially the two are the same thing, but Flaxseed is usually a raw oil marketed for culinary purposes, while Linseed oil comes in various forms, and is intended for wood finishing, or for making oil paints. It is the most famous of the drying oils. In oil painting, this is the oil of choice, as it provides a smoother finish (See Painting Materials, a scholarly text for artists from 1942. We’re in some seriously nerdy territory now). Flaxseed oil is the best for cast iron, raw linseed second, and polymerized linseed oil, which has been heated so that it will dry faster, would be a third choice. I use a food grade “Danish Oil” (polymerized linseed oil) for wooden spoon and bowl finishes, and the brand I use (Tried and True) is also approved for cutting boards. Never ever use boiled linseed oil, which contains as many toxic chemicals as an EPA Superfund site.
- Two Other Drying Oils: Safflower and Walnut Oils. I have not used these on cast iron, but they are highly rated as drying oils. Safflower has the benefit of being inexpensive and widely available. I have used Walnut oil as a wood finish, and unlike linseed oil, the smell is wonderful. The finish is fantastic as well. Walnut oil has almost twice the oil content of any other non-synthetic oil, so a little goes a long way. Allegedly, it was Leonardo da Vinci’s secret weapon when it came to making oil paints. If you have any left over, make salad dressing with it, or start forging a copy of the Mona Lisa.
Soybean oil and poppyseed oil are also drying oils, but try and find some non-GMO soybean oil at the same price as safflower oil. After you have put an almost invisibly thin coat of oil on some cast iron, what are you going to do? Cook it. Here’s three methods.
Methods
- Top of the Stove, Bro. This one requires the most attention, but it is the method of choice for seasoning carbon steel pans, and will work with cast iron as well. Disconnect the smoke detector, apply the material thinly, heat it right up to smoking point, take the pan off the heat, wipe it down, and let it cool off. Repeat until you have the finish you want. By the way, don’t disconnect the smoke detector.
- Bake it. By far the most common method, and recommended by manufacturers such as Lodge, in South Pittsburg, Tennessee. Apply the material, place the pan upside down in the oven, and bake at a high temp for an hour. I’d go with 500 degrees F. Repeat, and apply another coat of oil, if the finish is not sticky to the touch. If it is, bake it for another hour, without additional oil. If it’s sticky after that, scour the pan and begin all over. You’ve been a Jackson Pollock with your oil, which is not a good thing.
- Burn it. “Like any other Primitive would,” to quote Neil Young from a different context. As with most things, there is a right way and a wrong way to do this. I have seen videos of people throwing a cold skillet into a fire, straight onto a bed of glowing hot coals, which is the cooking equivalent of What Not to Wear. Thermal shock is one of the few things that will ruin cast iron. I prefer to put my cast iron in my brick oven as my fire is just beginning to burn. Eventually, I will push it up into the coals, as the fire begins to burn down. Then I let it cool for hours, or even overnight. If it’s an older piece of cookware, this method serves the double purpose of seasoning, and burning the grunge off of the exterior.
So choose the combination that you like, and be patient. If you pay attention, and take care of your cookware, eventually you will achieve this finish:
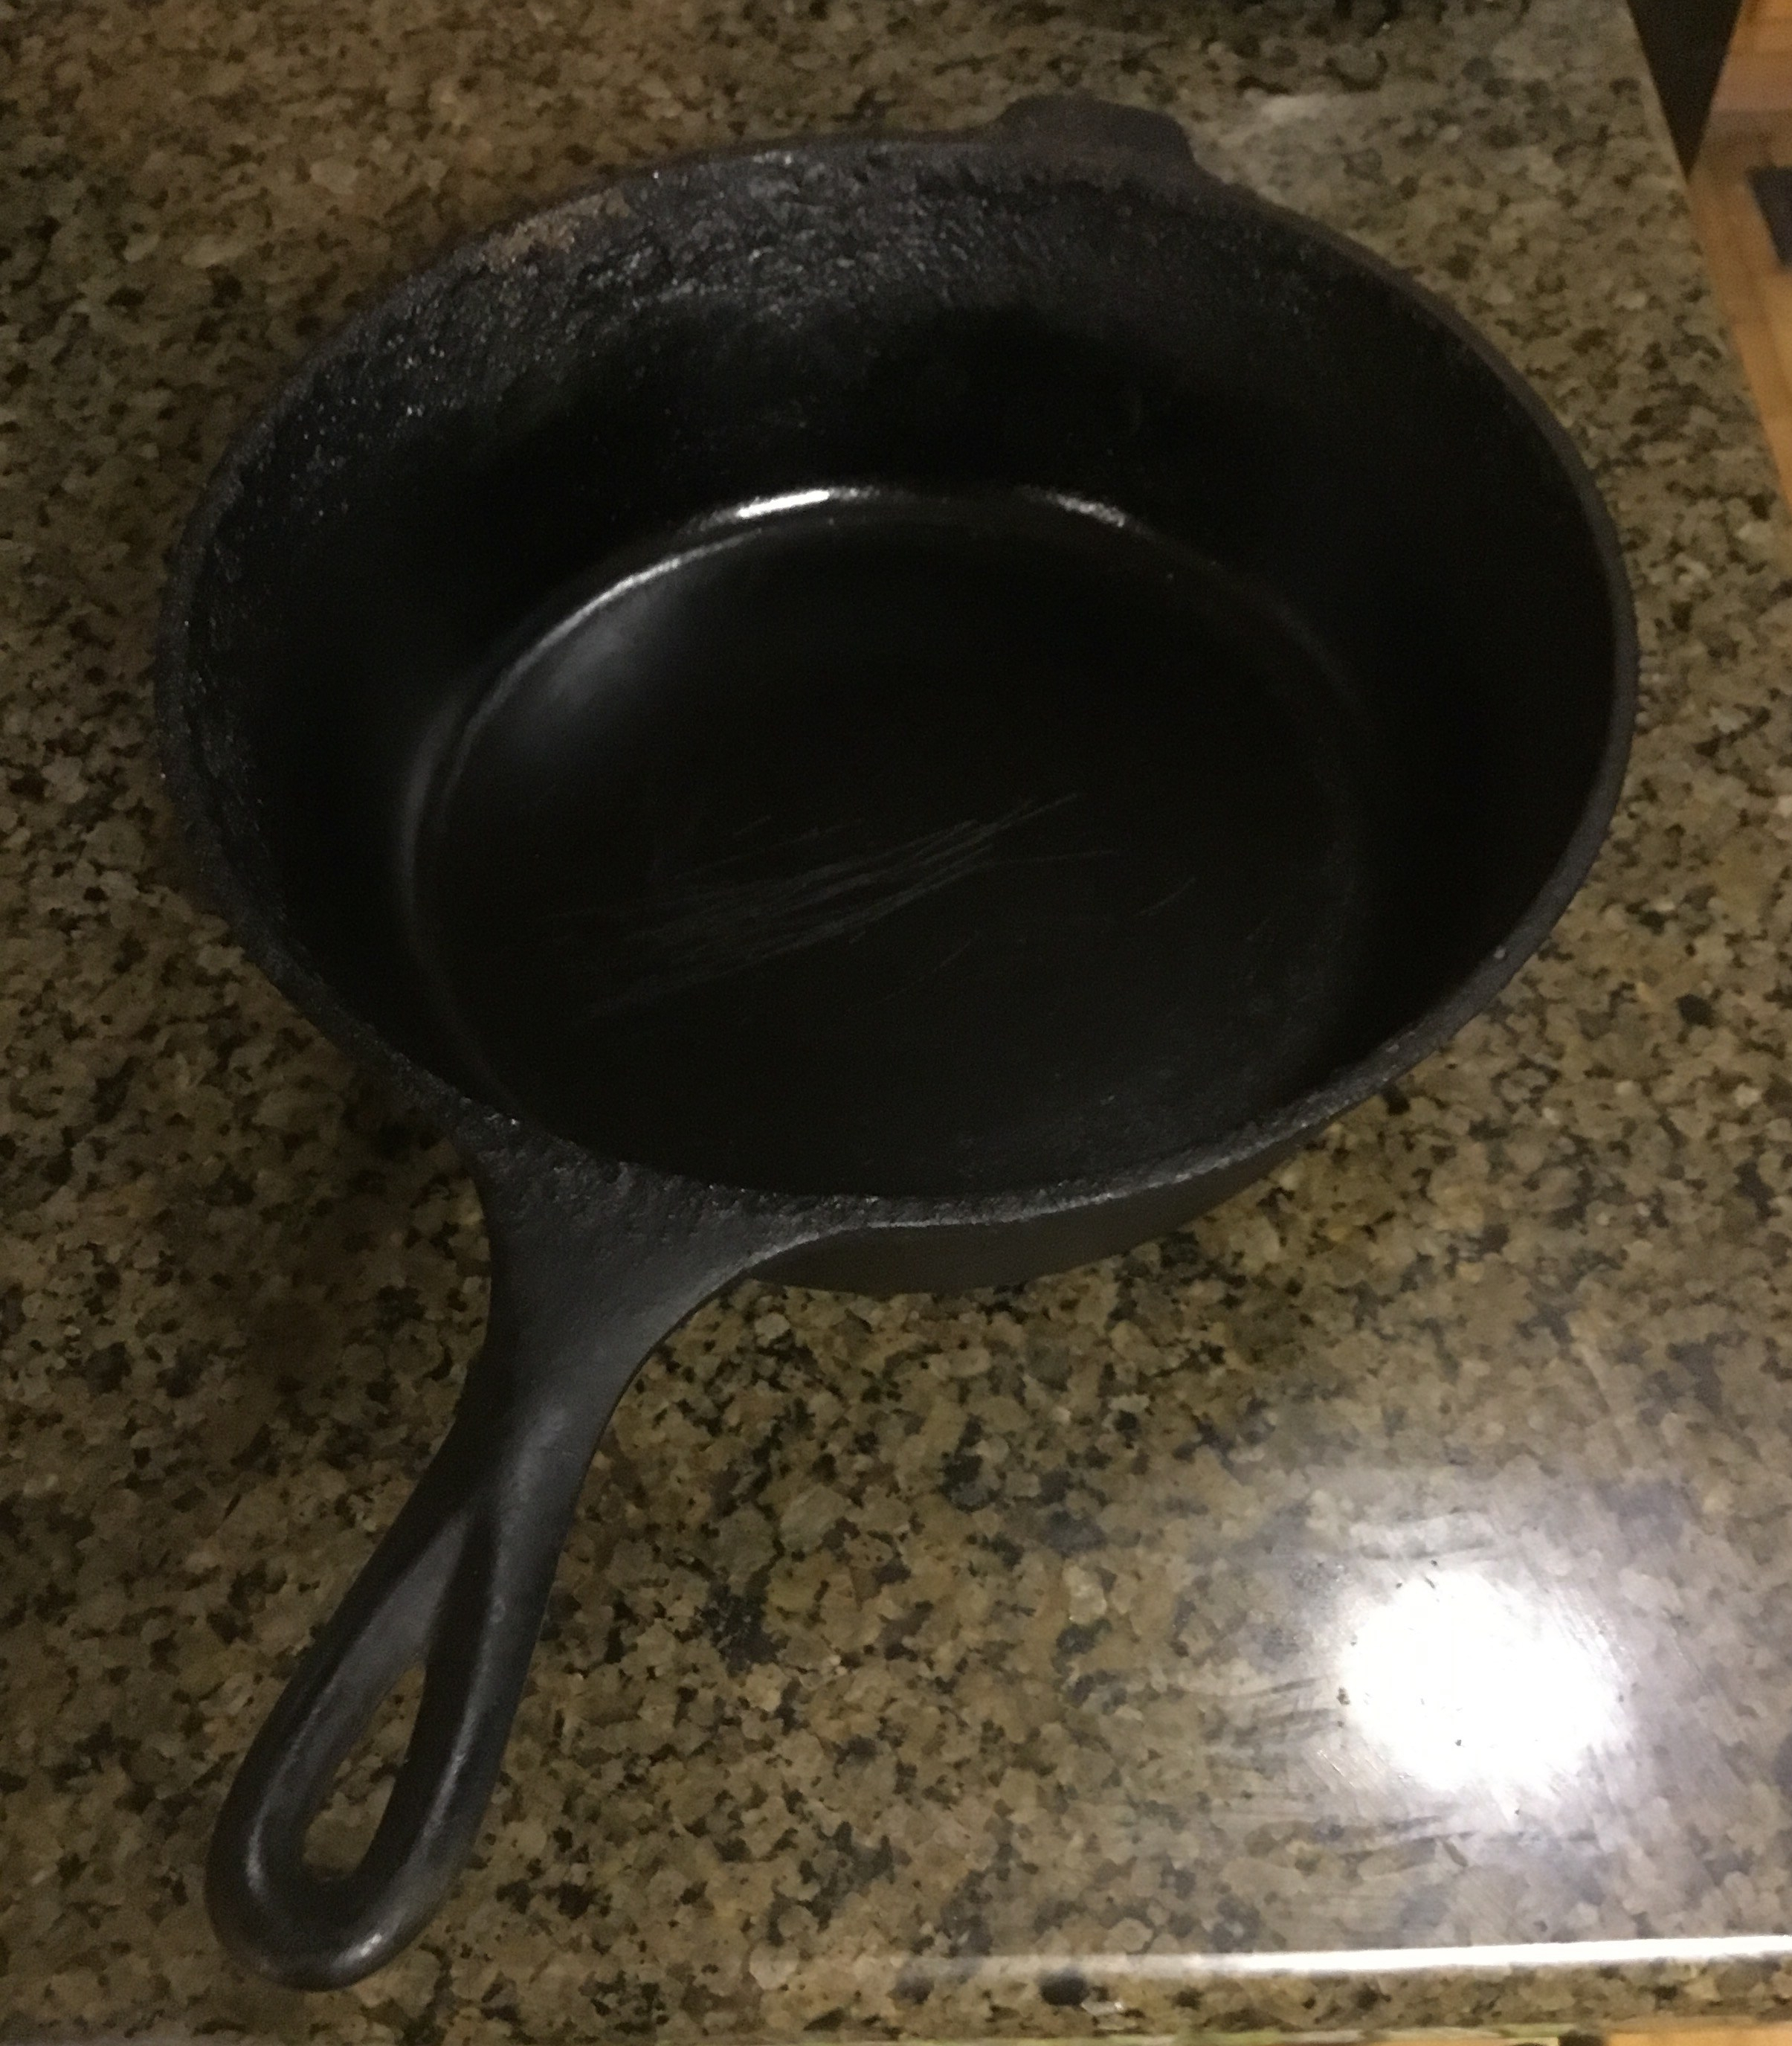
A couple of decades of frying chicken has left a little grunge at the top of this fryer, but the business part of this piece is a pure slick polymer. The scratch is the result of an unfortunate use of a metal utensil years ago, and so I now use only wooden ones I have made myself. (Not that I would brag or anything, but I have one featured in the book A Gathering of Spoons: The Design Gallery of the World’s Most Stunning Wooden Art Spoons, by Norman D. Stevens.)
Let’s finish with a couple of often disputed topics. The first is cooking acidic foods, like tomatoes, in cast iron. Of course you can. You’re cooking on a polymerized surface, not bare cast iron. The dish will taste metallic if cooked in an unseasoned pan, but no one should be cooking in an unseasoned pan anyway. I have cooked literally hundreds of dishes of Chicken Creole and Chicken Piquant in my favorite skillet, and both have tomatoes, and the second additionally has white wine and olives. I’ve made both in some of my wife’s fancy copper pans, and the result wasn’t nearly as tasty. Go figure.
The last question is of great import, which is how to clean and maintain cast iron cookware once it is seasoned. A. D. Livingston became an absolutist when working at the nuclear lab in Oak Ridge, Tennessee, after hearing of a skillet that had not been washed in over a hundred years–only wiped clean. He allows rinsing with hot running water is acceptable, but that is it. Others say a drop of dish washing liquid is fine. My experience is that properly seasoned cast iron can withstand anything but steel wool, or one of those copper scrubbing thingys. Even food that might have stuck on comes off easily, unless allowed to dry out on to the pan. Even then a few minutes of soaking will do the job, and if you are impatient, try A. D.’s method of boiling off the offensive bits of food.
In short, chose whatever method serves you best. Back in the day, people just went with what they had. Things appear to have turned out alright.


 I only took one small bite. I swear.
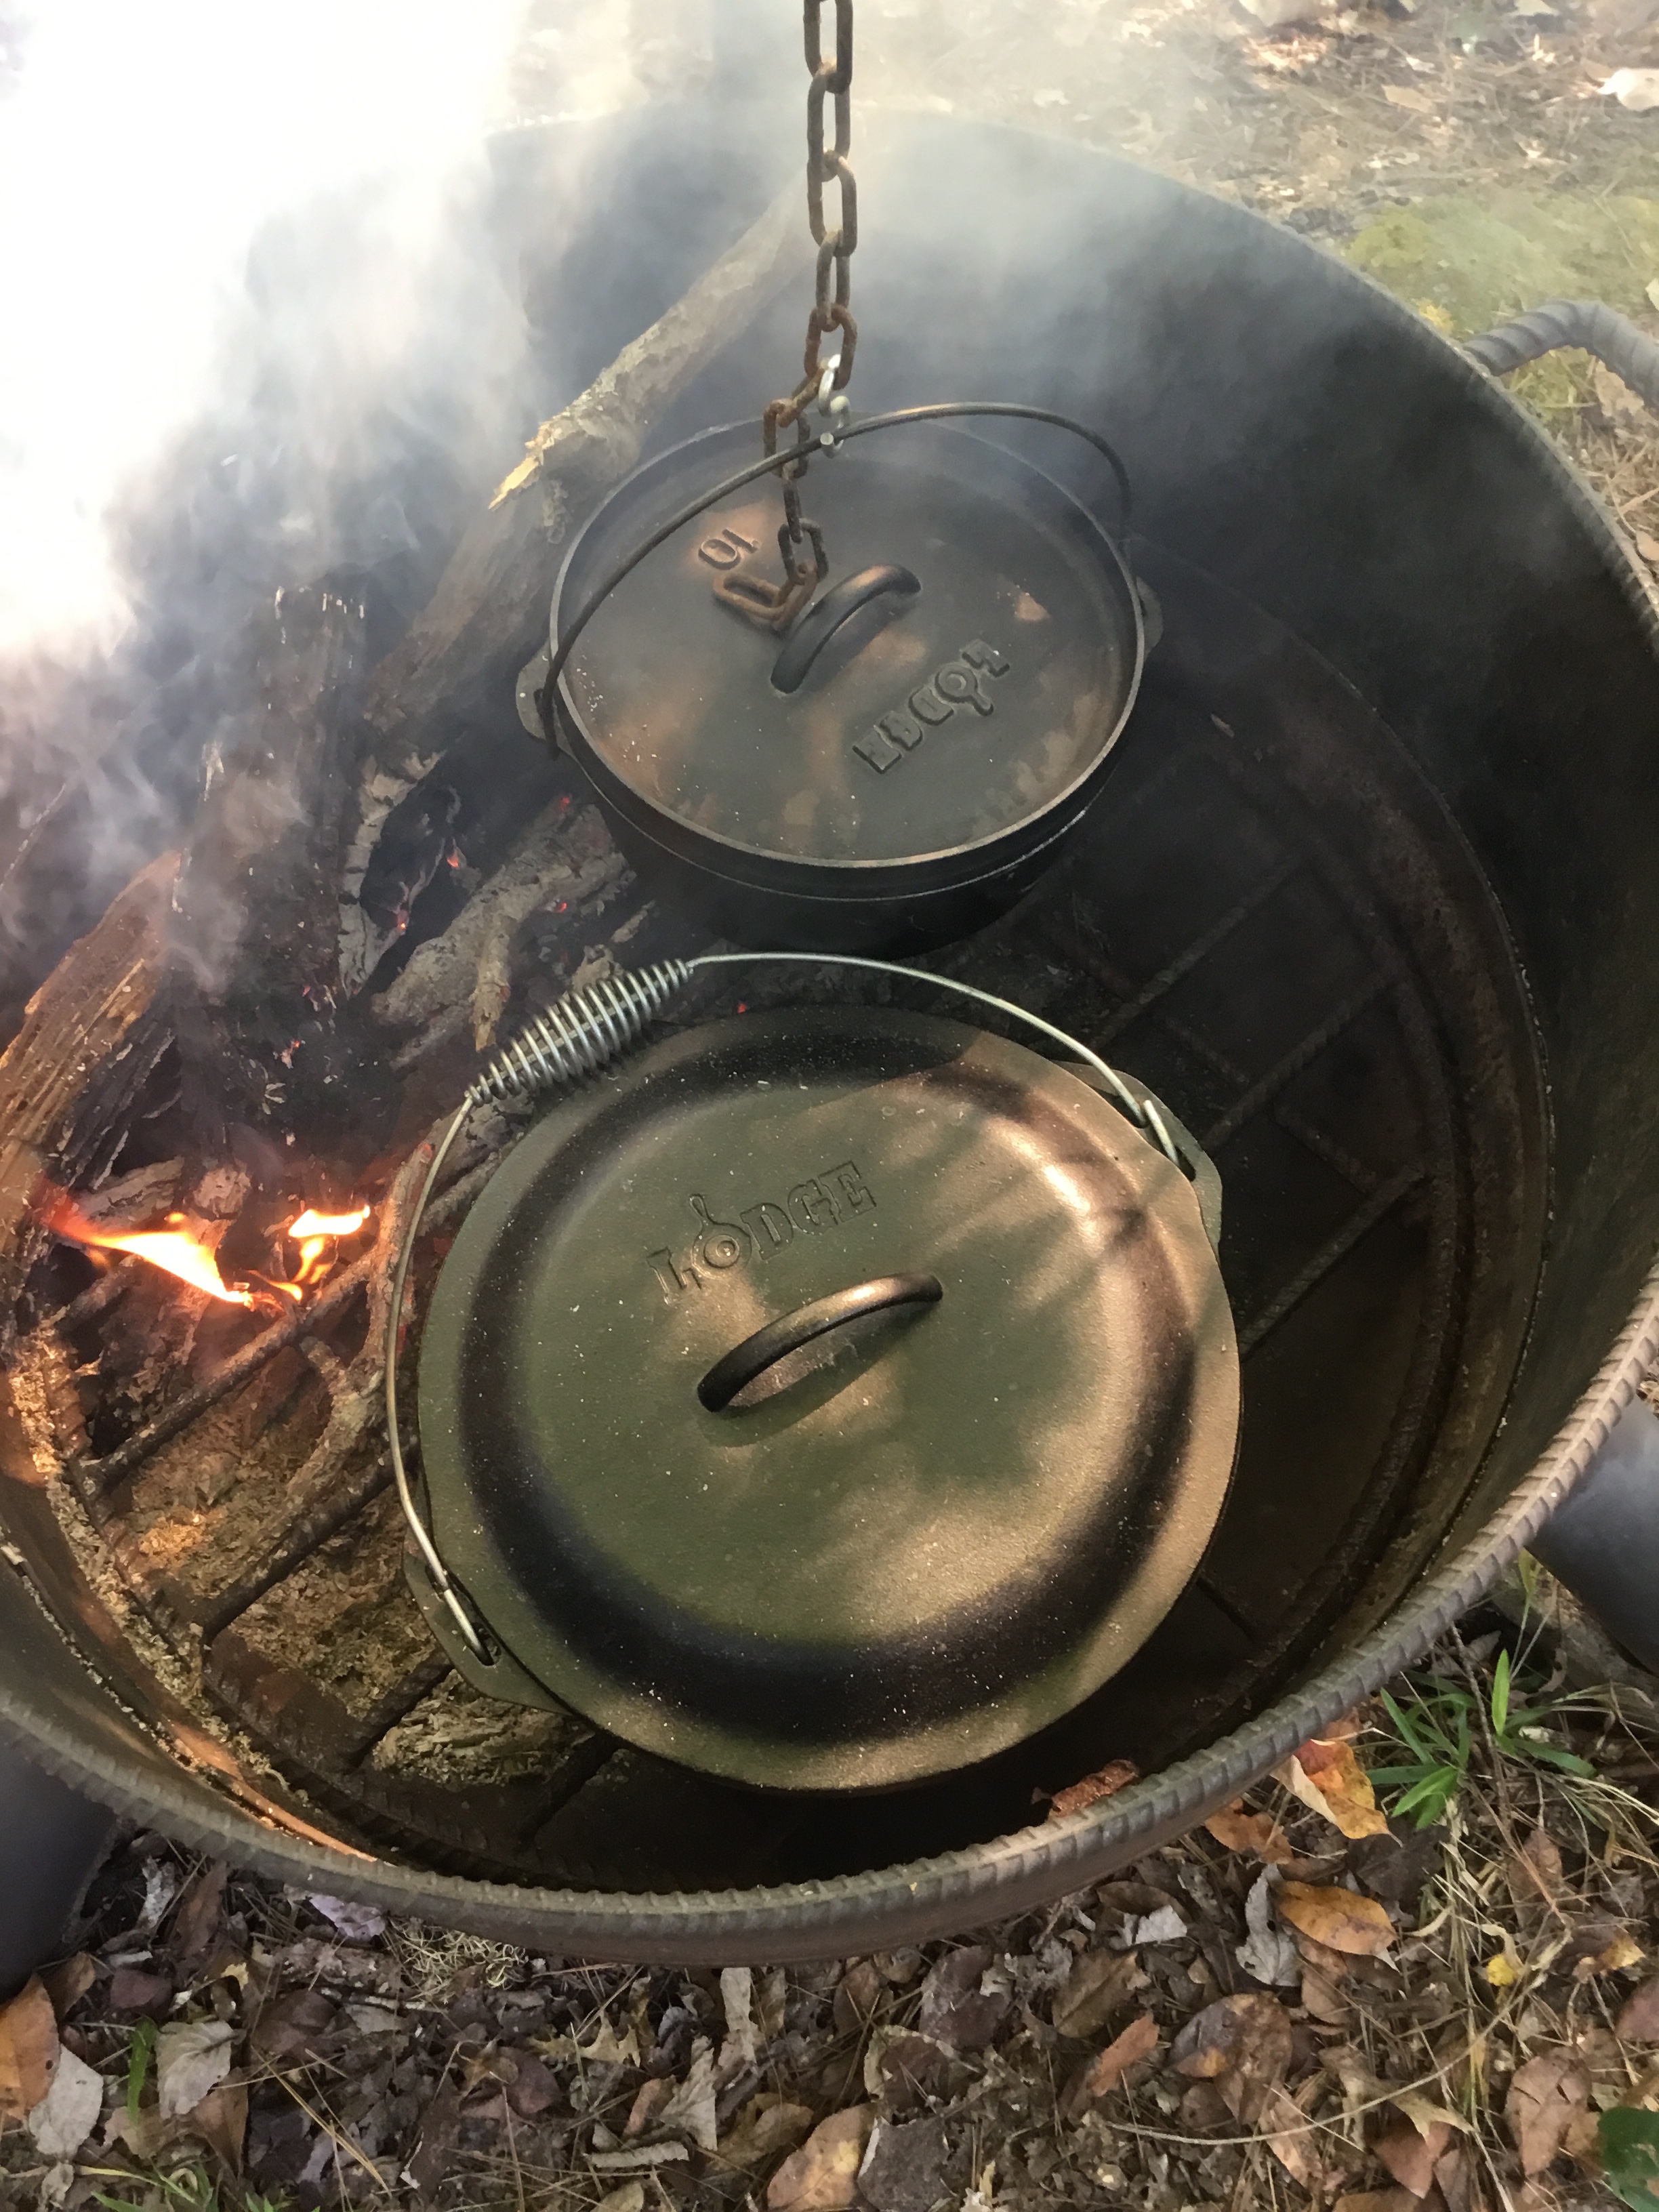 The corn meal bread is in the #10 dutch oven, which was a little too large. A chicken and vegetables are in the larger pot. Man cannot live on corn meal bread alone.
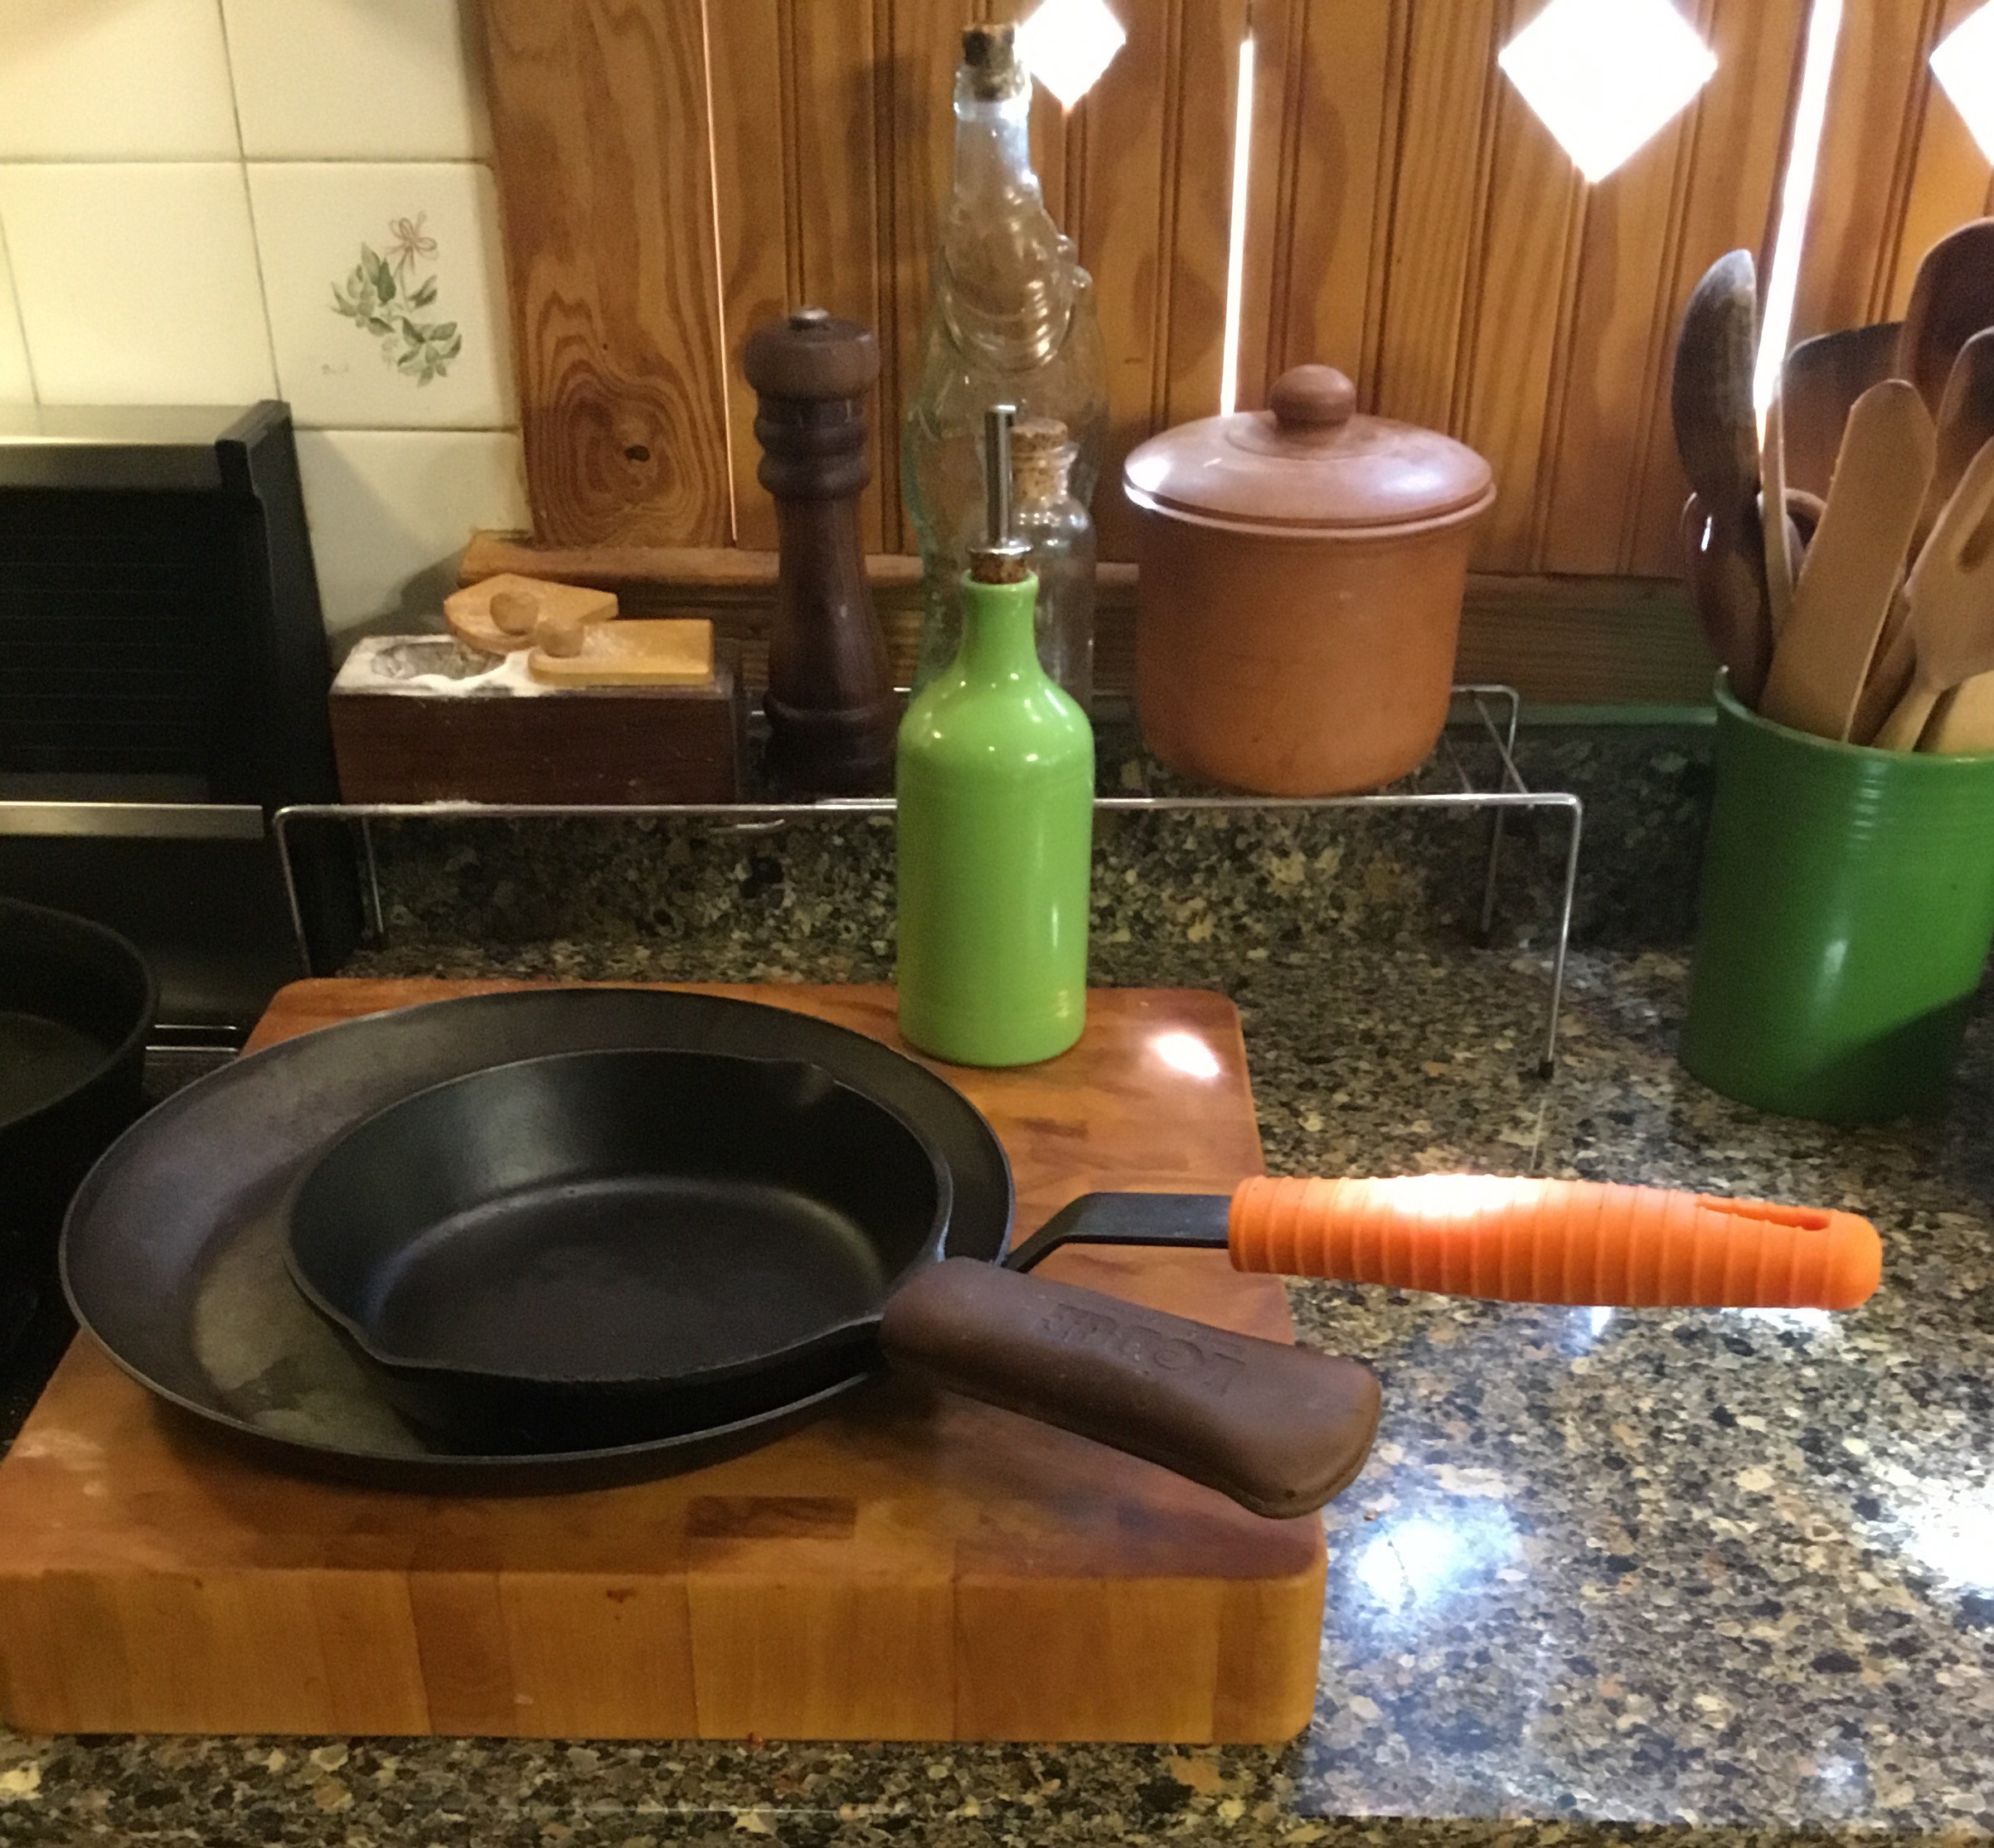 You could call these skillet condoms, but that would be rude. Just say yes to prophylactics, unless you want baby skillets.