

This trio of mills are Christmas presents for the in-laws, all of whom can put away some chow. Primitive man that I am, I made these from green (unseasoned) wood, and skipped the whole pricey and unnecessary kiln-dried process. The cost was lowered even further by using wind blown wood from last February’s tornado, a good portion of which is still lying on the ground on our property.
The first, and possibly the most critical step, is wood choice. I have more wood varieties at my disposal than I can literally shake a stick at. So I went with the easiest one–sourwood. That’s the wood I have that is least likely to split, out of everything around here, as it has the lowest T/R ratio–always check the inter webs for T/R info before using a wood for a green woodworking project. I made four blanks, two of which had absolutely no splits. The third had only a tiny hairline split on one end, which I just filled with beeswax. The fourth split along its entire length, and will be recycled into another project.
I began with a part of the tree that is rarely used, except for spoon carving, the limbs. Sourwood is so difficult to split that a small limb usually doesn’t split at all, even from the pith. Because of the roundish nature of limbs, I was able to skip the first step of roughing out with a hatchet, and went straight to peeling bark with a drawknife, and then rounding out the blanks with a concave spokeshave. After that the 3″ x 11″ blanks went straight on to the foot powered lathe.
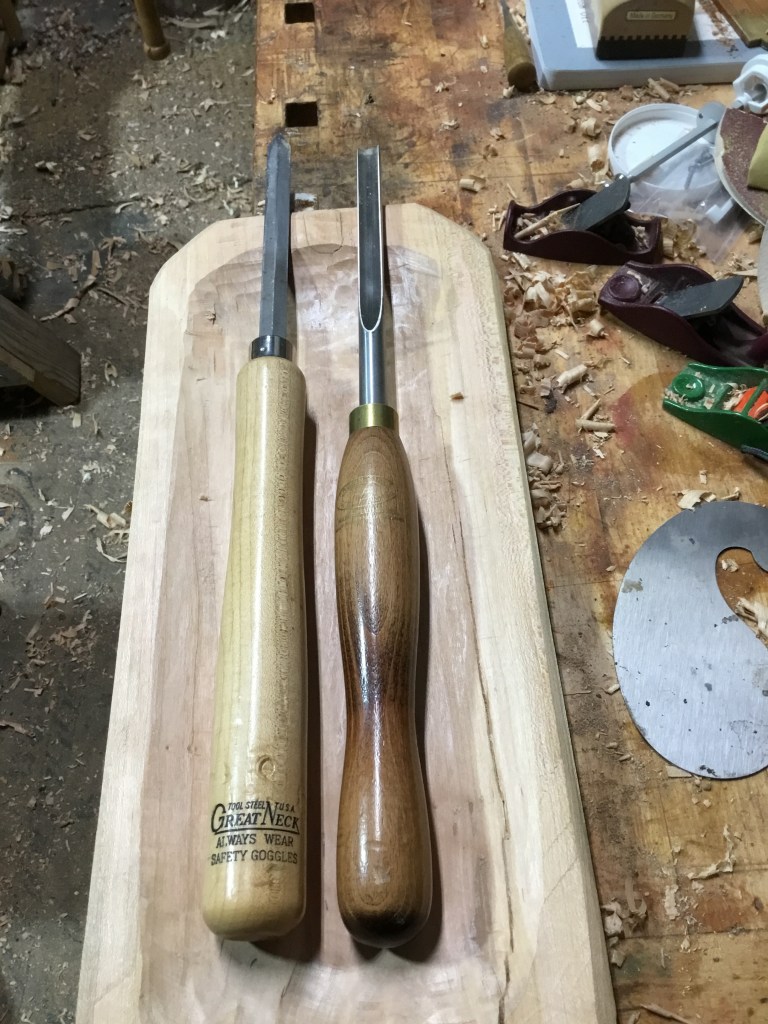
The roughing tools below are specialty tools made specifically for foot powered lathes. The 2″ chisel and the 1 1/2″ shallow gouge can be used in any combination, though I go gouge, and then chisel. These make fast work creating a perfectly round blank.

Conventional lathe tools are perfect for detail work such as forming the beads. Below are a diamond parting tool and a 3/8″ spindle gouge. Once the details are roughed in, it’s Zen break time. The green wood needs to dry for at least a day.
There are two good reasons to let green wood dry for awhile. It turns easily, but dries to a rough finish. It also dries into an oval shape, which would render it useless as a mill. The level of dryness is easily seen from how much moisture there is in the shavings coming from the turning work.
Grinder design is a matter of taste, as a perfectly round grinder would function as well as a fancy one. I just copied the design of the grinders sold by the manufacturer of the mechanism, Chef Specialties up in Pennsylvania. The width of the three different sized holes that must be drilled are included with the grinding mechanism kit. They are much easier to use than the old Peugeot mechanism that I made our grinder with, though Peugeot grinders are more durable than their cars.
Other styles of grinder kits are available, and I am making a salt grinder out of green turned black cherry. Anyone who would turn dry cherry on a foot powered lathe would end up needing orthopedic help.
